As I said in yesterday’s post we seem to be back up and running. I am hopeful the problems are solved. So today we will be doing a Casing in the Weekly Newsletter. I have a project for Friday. Also, I put in my Stampin’ Up! order, which is coming today. This includes new stamps from the January Mini Catalog. Remember this will be available January 6th.
Note: This will be the last week of posts. I will be off at least until January 3rd. So the Newsletters will resume the next week.
If things are hectic and you need a quick card design, sometimes checking to see what others have done and adapting it can be the way to go. Even Concept Artists CASE (Copy and Share Everything)!
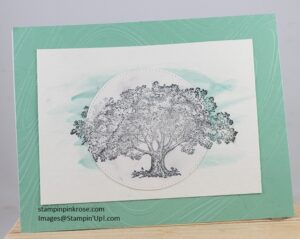
Here’s how to create a beautiful card using masking paper, Blending Brushes, ink, and Enamel Effects. (The stamp set is Love and Strength/Amour et Courage.)
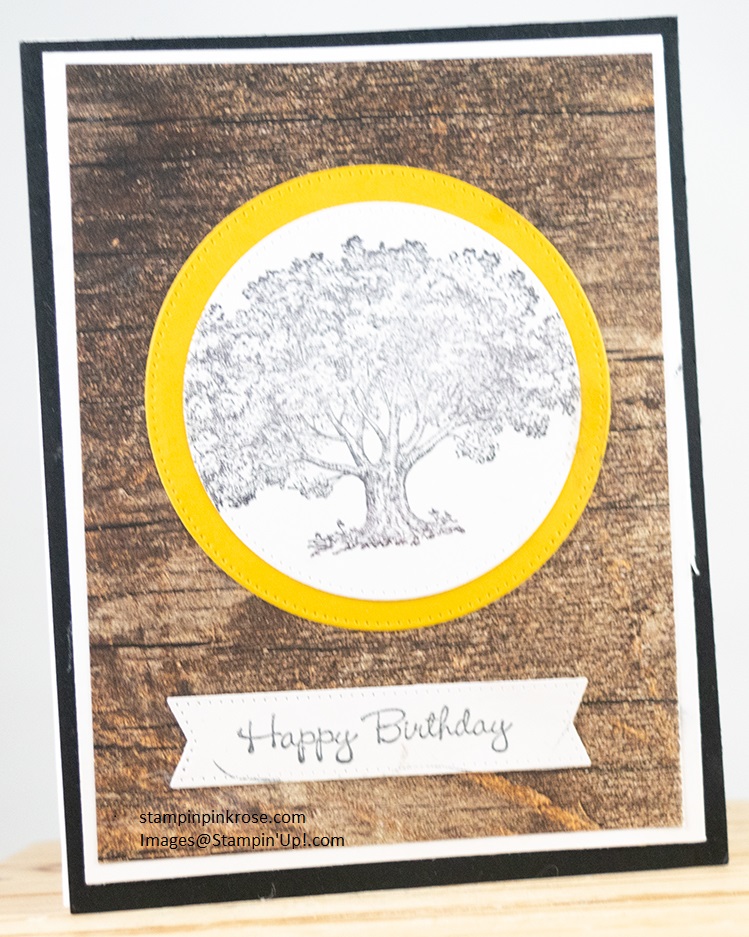
“I wanted to keep the layout for my card visually similar to the original, so I took masking paper cut into strips and created a border around the outside edges of the cardstock. Then, I used a Blending Brush and ink to fill in the space not covered by masking paper. After the ink dried and I removed the paper, I saw that I had the effect I wanted: a smooth edge to mimic a layered card base—without the extra paper!
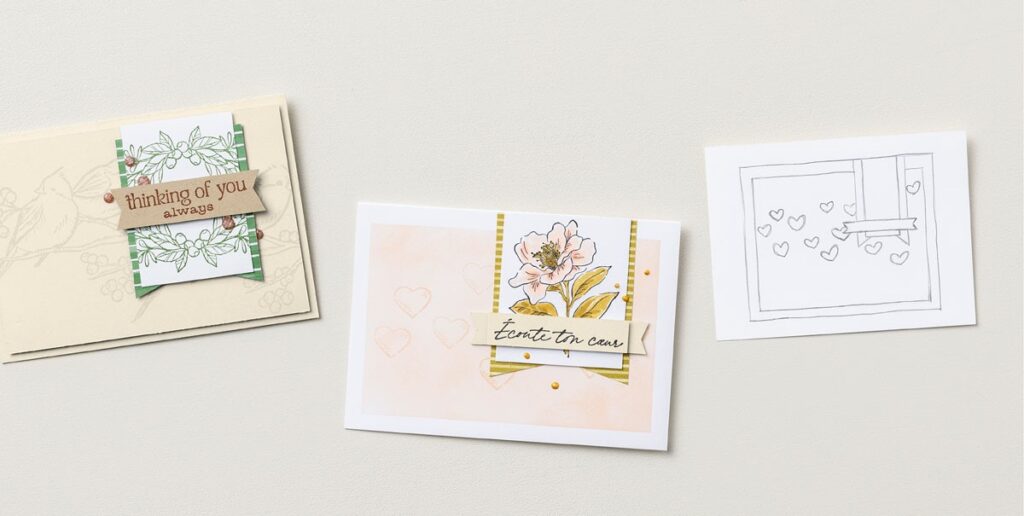
“Then, I copied the card as if it were a sketch and added detail to the back, replacing the large bird on a branch with tiny, scattered hearts. Lastly, I kept the banner-backed focal point almost exactly same.”
“Finding another card that is visually pleasing to the eye and using the layout as a guide is a great way to make something creative when you’re stuck,” she concluded. “You can make your own sketch, as I did, or you can follow the original project as a guideline. That way you can use whatever products you want!”
See you Thursday as we wrap up the year!
Please, Leave A Comment