Sneak Peak at June

I can’t believe June will be here tomorrow and this month can be a busy one for celebrations.  One celebration is Father’s Day on  June 21st or maybe not. I think of June traditionally as Wedding Month.  For me this is the case and hence a card is called for to celebrate the event.  Also, birthdays are always being celebrated.  So I am going to give you a sneak peak of some cards coming up. In the coming weeks you will see instructions how to make these cards.

Father’s Day

Father Day 1 resize

Wedding

Wedding 002 C

Birthday

Artisan Pictures I 002 C

Please, Leave A Comment

Pamela Sadler Signature

Do You Like the Bow or the Flower?

Birthday Bow

Today I am bringing you two cards and I want to hear from you on which card you prefer?  I know some of you are flower and others not so much.

So I will start with the bow card made with the new Bow Punch. This was done with Bermuda Bay paper.  I just love coordinating Bermuda Bay with colors like Calypso Coral and Hello Honey which will still be available in the new catalog.

Directions:

  1.  Cut Whisper White cardstock 5 1/2″ x 8 1/2″ and fold at 4 1/4″ (base)
  2. Cut strips of Hello Honey, Bermuda Bay, and Calyspo  Coral 1 1/8″ each and embossed  with the textured Chevron embossing folder
  3. Cut a piece of Bermuda Bay 4 1/4″ x 5 1/2″ and adhere to the base
  4. Cut a piece of Whisper White cardstock 4″ x 5 1/4″ and adhere to the Bermuda Bay (part of base)
  5. Adhere each the strips of the  colors to the white cardstock in step #4
  6. With heart punch, punch out heart and place in the center of your card
  7. Using the bow punch make the bow (See Video Tips and Techniques)
  8. Place bow on card
  9. Using Itty Bitty Banner stamp the Happy Birthday on white cardstock. Then cut out the banner using Itty Bitty Framelit. Place on the card below the heart. See picture.  I chose a different way for the banner, but I thought this would be easier for some of you.

Note: The paper I used for the Bow is retired.  Choose a pattern paper from the Designer Series in the catalog and coordinate your colors. Remember each Designer Series paper has the colors listed on the package.

Built for Free Using: My Stampin Blog


  The next card is all about a flower gracing the card.   I have it has a friendship card, but change the greeting and make it into a sympathy or whatever you like. DSC_0056 edit The striped paper is retired, but Stampin’ Up! has some great black and white paper called Back to Black. Directions:

  1.  Cut Whisper White cardstock 5 1/2″ x 8 1/2″ and fold at 4 1/4″ (base)
  2. Cut the black paper to 4″ x 5 1/4″  and adhere to the base
  3.  Cut black cardstock 3 1/2″ x 4 1/2″ and a white cardstock 3 1/4″ x 4 1/4″
  4.  White the cardstock in #3 stamp your greeting
  5.  Stamp the flower using Petal Potpourri.  I used Real Red, but the new Watermelon Wonder ink would look great on it.
  6.  Punch it out using Flower Medallion and use the  Petite Petal punch in white for the center. Then follow with 1/2″ circle in black of petal punch flower. Use a glue dot to give dimensions for the black circle.
  7.  For the leaf I stamped Petal Potpourri in Wild Wasabi and cut out 2 petals
  8.  Adhere the leaf on (see picture) and place flower over it.
  9.  Assemble card the with the solid black cardstock on over the stripe and the 3 1/4″ white cardstock on top.  This is the one that you placed the flower on with greeting.

Now let me know which card you like best.


Built for Free Using: My Stampin Blog


Please, Leave A Comment

Pamela Sadler Signature

Meet Bohemian and It’s Bright Color Is Here

Bohemian Cards Cupcake

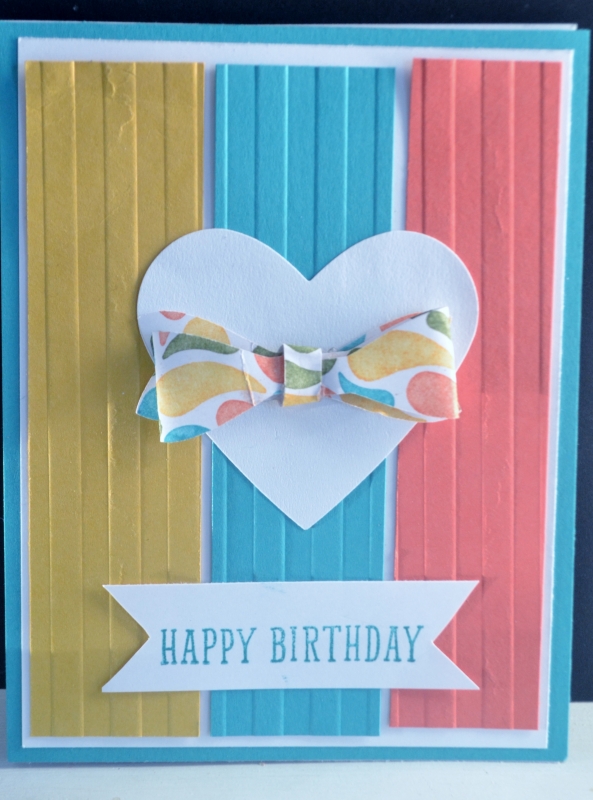
With all the gloomy, rainy days we had over Memorial Day, this Stampin’ Up! paper was a breath of fresh air.  It is brand NEW Stampin’ Up! paper in the NEW CATALOG.  It is colorful, but you can tone it down by using Blackberry Bliss or brighten it up by using Tempting Turquoise.

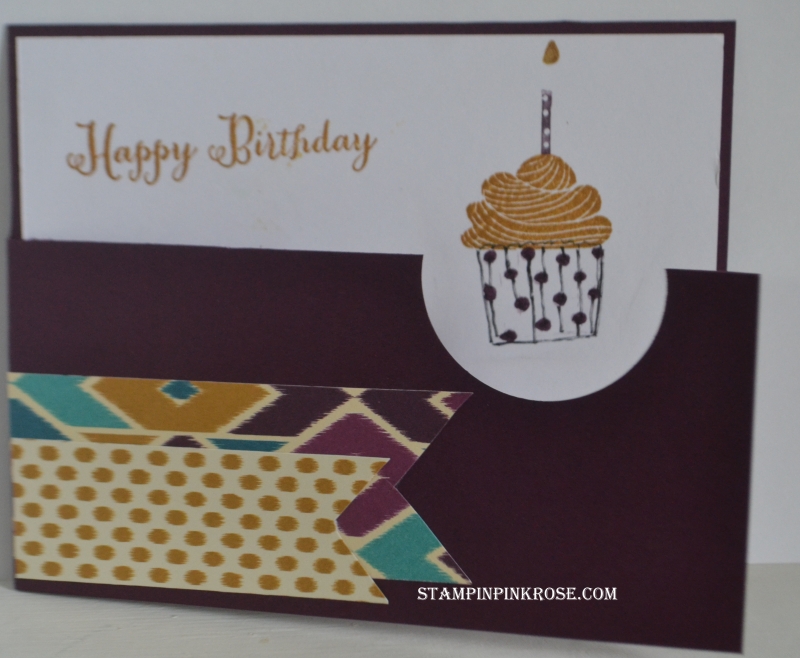
The stamps I chose were Cupcake Party and Remembering Your Birthday. The later was used for the greeting.  This card has no sentiment because of the style.  Let us get started and learn how to make this unique card.

  1.  Cut Blackberry Bliss cardstock 5 1/2″ x 8 1/2″ and fold at 4 1/4″ (base)

2.   On one side of folded cardstock you will need to cut down 1 1/4″ on the fold and across so there is a flap.  This will leave 1 1/4″ open so the white cardstock will show once adhered. See picture.

3. Using the 1 3/4″ punch, punch a half circle out of the Blackberry Bliss cardstock.

4.   You will need to pencil mark the placement of the cupcake.

5.   Cut Whisper White cardstock 4″ x 5″ (inside of card)

6.    Stamp the cupcake with the Stampin’ Up! Cupcake Party in Delightful Dijon for the top and for the base use your Blackberry Bliss and a black maker to color it. The circles are done in Blackberry Bliss.

7.   Add the candle which is colored with marker in Blackberry Bliss and Delightful Dijon for the flame.

8.    Stamp the Happy Birthday with the Delightful Dijon on the left.

9.    Adhere to the Blackberry Bliss card (base).

10.   Add two banners on the flap part of the Blackberry Bliss. I used the NEW Bohemian Designer Series paper.   The banners measure 1 1/4″ x 3 1/4″ in the patterned paper and 1″ x 3″.  Adhere. Note the pattern paper is on the bottom and the dot paper is on top.

Built for Free Using: My Stampin Blog


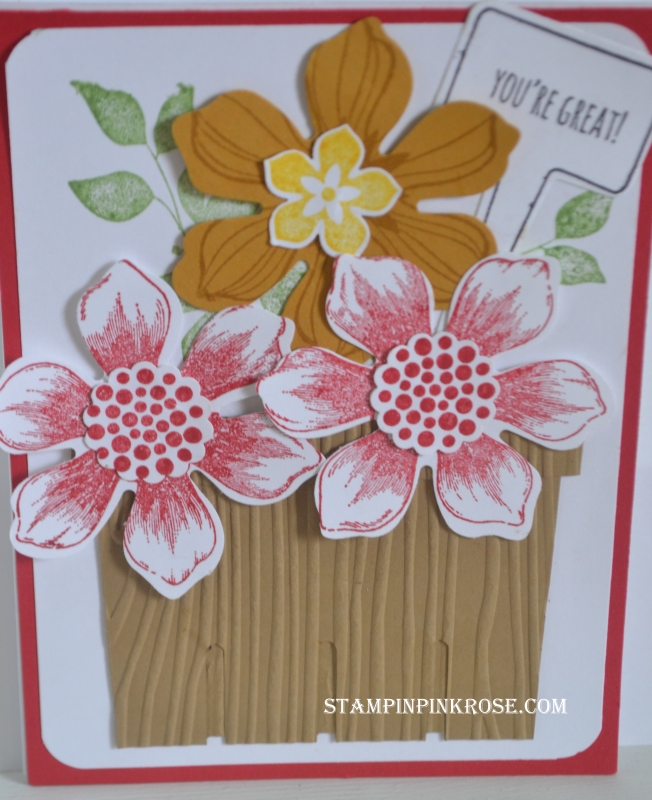
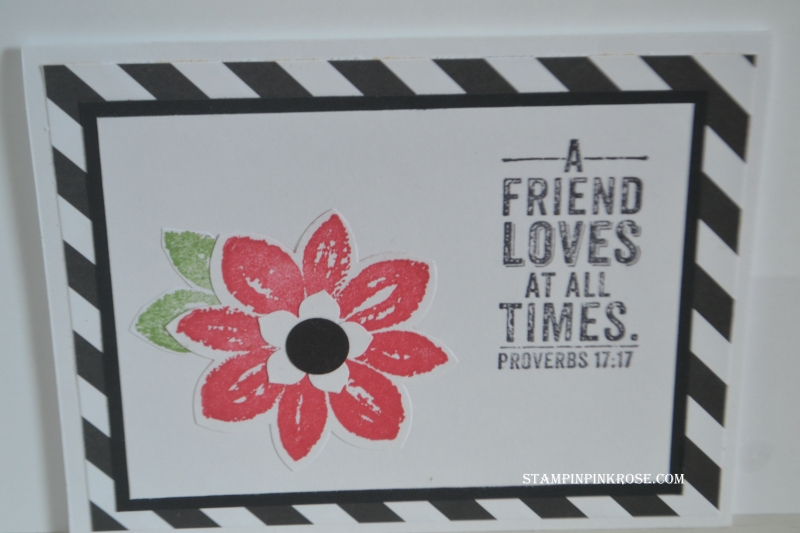
I am giving you a sneak peak on another card from Bohemian Designer series paper.  I will be giving you the instructions next week.

Bohemian Cards Mini Treat BagSo think about putting this on your Wish List.  In fact, Mary Fish (part of my downline) came up with this Wish List to help you

Download (PDF, 20KB)


Please, Leave A Comment

Pamela Sadler Signature